
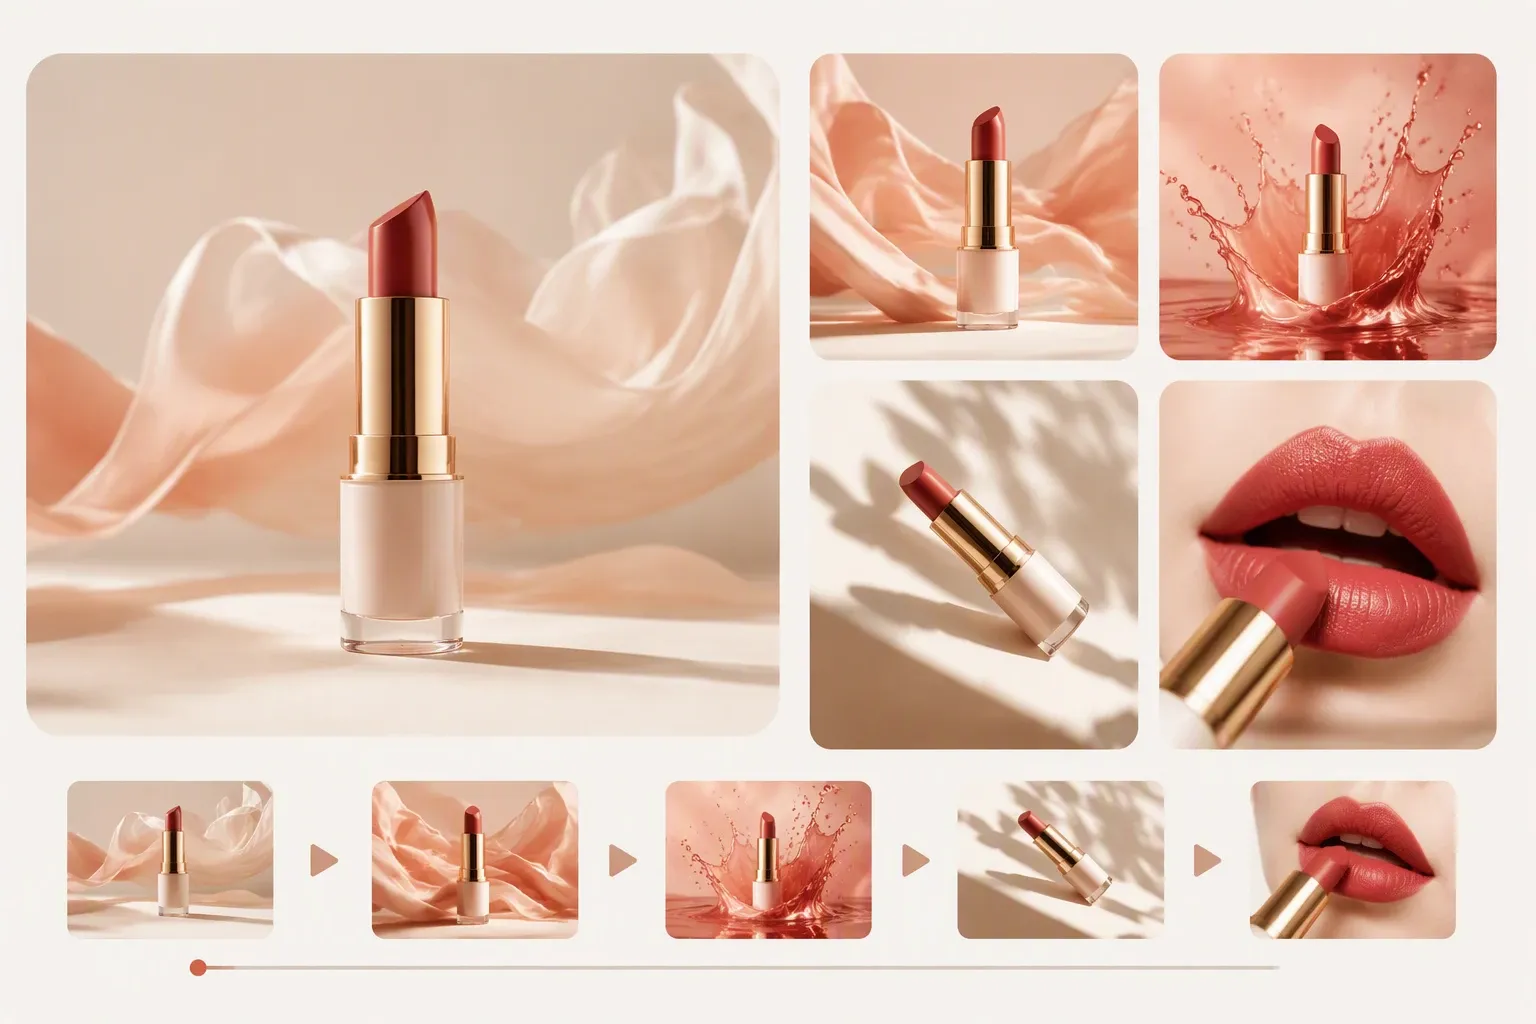
Create Engaging Visual Stories with AI Tools
Read Time:7 Minute, 13 Second
Visual storytelling is no longer just for professional movie studios or high budget marketing agencies. Anyone with a computer and a creative idea can now produce stunning content that captures attention. The secret lies in using artificial intelligence to bridge the gap between a static image and a compelling narrative. Most people scroll past basic photos in seconds, but a story that moves and speaks can hold their gaze for much longer. This guide will show you how to transform your ideas into dynamic visual experiences using modern AI tools.
The first part of any successful project is preparation. You need to decide what story you want to tell before you start clicking buttons. A good story has a clear message and an emotional hook. If you are promoting a brand, your story might focus on a problem your customers face. If you are a creator, you might want to share a personal journey or a fictional world. Once you have your concept, you can begin the process of building your visuals from the ground up.
Step 1: Prepare Your Base Visuals
Your story starts with a high quality image. You can use a photo you took yourself or generate a new one using an AI art generator. The quality of this initial image determines how good the final result will look. If the image is blurry or has poor lighting, the AI will have a hard time adding realistic effects later. You should look for images with clear subjects and distinct backgrounds.
If your original photo has distracting elements or needs a bit of polish, you can use specialized tools to fix it. You can enhance and edit your photos easily by using online platforms that use AI to sharpen details and remove unwanted objects. This step is vital because it creates a clean canvas for your story. A clean image allows the AI to track facial features and movements more accurately in the following steps.
Step 2: Add Realistic Movement and Speech
Static images are great, but talking characters are better. This is where the real magic happens in visual storytelling. You can take a portrait and give it a voice, making it look like the person is actually speaking your script. This technique is perfect for social media ads, educational videos, or personalized messages.
To get the best results, you need a tool that understands how human lips move when they form different sounds. You can make photos speak naturally by using lip sync technology that aligns your audio file with the mouth movements of the character in the photo. This creates a seamless effect that looks professional and polished. Make sure your audio is clear and free of background noise to help the AI process the sounds correctly.
Step 3: Refine the Visual Style
Once your character is moving and talking, you need to make sure the rest of the scene matches that energy. Consistency is the most important part of visual storytelling. If your character looks realistic but the background looks like a cartoon, the viewer will feel confused. You can use AI filters to apply a consistent color grade to your entire project.
Think about the mood you want to set. Warm colors like orange and yellow create a friendly and inviting feeling. Cool colors like blue and green feel more professional or calm. By adjusting these settings, you guide the emotions of your audience. AI tools can help you match the lighting of your character to the lighting of the background, which makes the whole scene feel like it was shot in one take.
Step 4: Sequence Your Story
A single talking head is a good start, but a story usually requires multiple scenes. You need to arrange your clips in a way that makes sense. Start with an establishing shot that shows where the story is taking place. Then, move into closer shots of your characters to show their expressions and emotions.
Use simple transitions between your clips. You do not need flashy effects to tell a good story. Often, a simple cut is the most effective way to move from one scene to the next. AI video editors can suggest the best places to cut based on the rhythm of your audio or the action in the frame. This helps maintain a good pace so your audience does not get bored.
Step 5: Final Review and Export
Before you share your creation, watch it several times. Look for any glitches in the animation or places where the audio does not match the video. Small errors can break the immersion for your viewers. Check the resolution and aspect ratio to make sure they are right for the platform where you plan to post.
If you are posting to Instagram or TikTok, a vertical format is best. For YouTube or a website, a horizontal format is usually better. Most AI tools allow you to change these settings before you export. Once you are happy with the result, save your file in a high quality format like MP4 to ensure it looks crisp on every screen.
Tips and Best Practices
Creating visual stories with AI is a skill that improves with practice. Here are some tips to help you get better results faster.
First, always start with a high resolution image. AI can do a lot of things, but it cannot create detail where none exists. If your starting photo is pixelated, the final video will also look blurry. Aim for at least 1080p resolution for your base images.
Second, keep your scripts short and punchy. People have short attention spans online. A thirty second story that is well paced is much better than a three minute video that drags on. Focus on one main idea per video to keep your message clear.
Third, pay attention to the eyes. The eyes are the most important part of a talking character. If the eyes look static or lifeless, the whole video will feel fake. Some AI tools allow you to add eye blinks or slight head movements. These small details make a huge difference in how realistic the final product feels.
Fourth, use high quality audio. Even the best visuals can be ruined by bad sound. Use a good microphone if you are recording your own voice, or use a high quality AI voice generator. The voice should match the personality of the character in the photo.
Comparison of AI Storytelling Features
The table below shows some common features you might use when building your visual stories.
| Feature | Primary Use | Difficulty Level |
| Lip Syncing | Making characters talk | Medium |
| Image Enhancement | Improving photo quality | Low |
| Background Removal | Changing the setting | Low |
| Motion Tracking | Adding moving elements | High |
| Color Grading | Setting the mood | Medium |
Common Mistakes to Avoid
Many people make the same errors when they first start using AI for storytelling. One big mistake is overcomplicating the scene. You do not need a million things happening at once. A simple, well executed idea is always more powerful than a messy one. Focus on your main character and their message.
Another mistake is ignoring the lighting. If you put a character from a sunny outdoor photo into a dark indoor background, it will look wrong. The shadows and highlights need to match. You can use basic editing tools to adjust the brightness and contrast of your character so they fit into their new environment.
Do not rely too much on the AI to do all the work. The AI is a tool, but you are the creator. You still need to provide the creative direction and the final human touch. If something looks a little bit off, do not be afraid to go back and change it.
Finally, avoid using too many hyphenated buzzwords or overly technical language in your story. Your goal is to connect with people. Use simple words and clear sentences that anyone can understand. This makes your story more accessible and engaging for a wider audience.
Conclusion
Creating engaging visual stories with AI is an exciting way to share your ideas with the world. By following a structured process, you can turn simple photos into dynamic narratives that capture the imagination. Start by planning your story and preparing your images. Use tools to add speech and movement, then refine the style to match your vision.
As you get more comfortable with these tools, you will find new ways to push your creativity. The technology is always improving, making it easier than ever to produce professional content. Remember to focus on the story first and use the AI to bring that story to life. With a little practice and attention to detail, you can create visuals that truly stand out in a crowded digital space.

Happy
0 %

Sad
0 %

Excited
0 %

Sleepy
0 %

Angry
0 %

Surprise
0 %
 0
0
 0
0
More Stories

BestLinks AI Vs A Paid Invoice For Listings
Directory owners in India often treat a vendor email as a price check. The mailbox looks harmless because no rupee...

The Problem With Software “Best Of” Lists — And What a Recommendation-First Approach Looks Like Instead
Anyone who has tried to pick a SaaS tool recently knows the drill: open a "Top 10" listicle, find ten...
Listing Photos Fail When Image to Image Invents A Shopfront
Customers still walk to the address on the listing. A local Image to Image update is useful only when the...
Create Better Small-Business Marketing Visuals Without a Full Photo Shoot
A small business can need a surprising number of images in one month: a seasonal post, a directory listing, a...

Managing Battle Pass Content Through Headless CMS Architecture
Battle passes have become a major part of live service game design, giving players a structured way to progress through...

How DFT Analysis Improves PCB Testing and Product Reliability
Every hardware founder wants to move from prototype to production without delays. But many electronic items have issues after the...